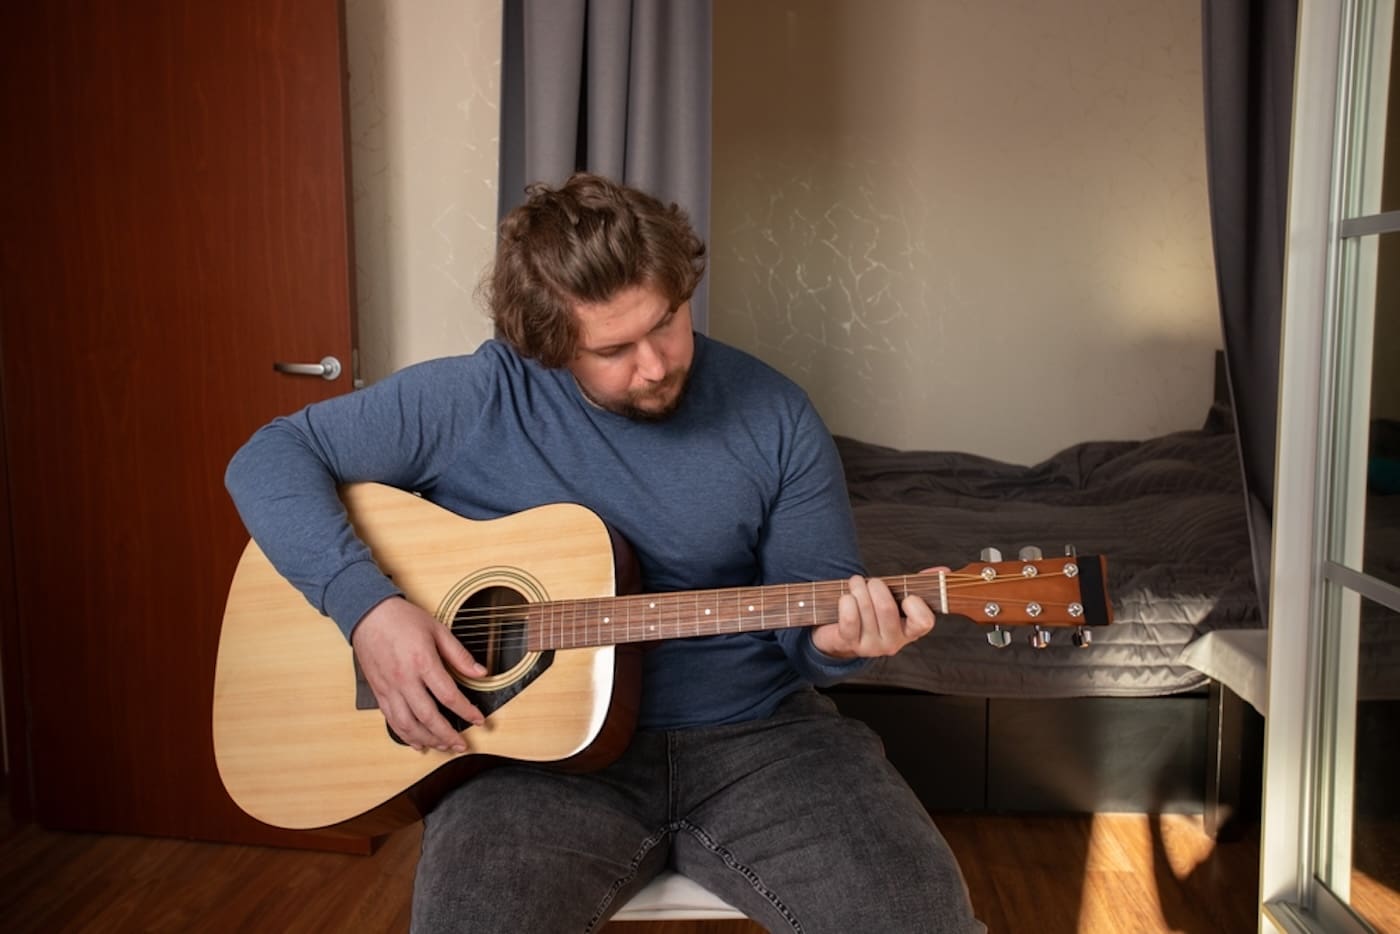
Learning how to read sheet music opens up a magical world where strange symbols transform into beautiful sounds. Sheet music is like a map that guides you through a song, showing what notes to play, when, and how they should sound.
Just like learning to read books gives you access to countless stories, mastering sheet music gives you access to centuries of musical compositions.
Follow our guide and you’ll soon pick up any piece of music and bring it to life through your voice or instrument.
Get Early Access
To Promo Hype
What Is Sheet Music?
Sheet music is the universal language for writing down musical ideas using symbols on paper instead of words. This music notation system has evolved over centuries to become a standardized way for musicians to communicate their compositions.
When you look at sheet music, you see a visual representation of sounds arranged in time. Those little dots, bar lines, and symbols tell you precisely what to play.
Sheet music involves you reading notes, how long to hold them, how loud or soft they should be, and much more. Unlike learning a language, where you memorize thousands of words, musical notation uses a handful of basic symbols.
Once you understand these fundamental elements, you’ll have the key to unlocking virtually any piece of written music.
Why Learn To Read Music?
Learning how to read sheet music gives you independence as a musician, allowing you to teach yourself your favorite songs without relying on someone showing you. You can explore centuries of musical compositions on your terms and at your own pace.
The ability to read sheet music means instantly communicating with other musicians worldwide through this universal notation language. A pianist in Tokyo can play the same Mozart sonata as someone in New York because they both understand the same written language of music.
Reading music also enhances cognitive abilities, improving memory, pattern recognition, and multitasking skills. Musicians who read sheet music often develop stronger connections between their brains’ visual, auditory, and motor centers.
If you want to learn how to write a song, you’ll find that the ability to read sheet music comes into its own. If you’re already familiar with chord charts, it’s time to learn how to read sheet music.
Join a musical community with Promo Hype.
Key Elements Of Sheet Music
Sheet music contains various elements that tell exactly how a piece should sound. Understanding these components is like learning the alphabet before reading words.
The staff, clefs, notes, and other markings create a comprehensive system that communicates pitch, rhythm, dynamics, and expression. Each symbol serves a specific purpose in guiding your performance.
Music theory becomes much clearer when you see it written down, helping you understand the patterns and structures that make music work. This knowledge enables you to become a better performer, songwriter, or composer who can express their musical ideas on paper for others to play.
Here we break down these essential elements so you can start decoding this beautiful musical language. The more familiar you become with these building blocks, the more fluent you’ll become in reading and interpreting music.
The Staff
The staff is the foundation of sheet music. It consists of five bar lines and four spaces that create a framework where notes are placed. Each line and space represents a different note in the musical alphabet, from A to G.
The position of a note on the staff also determines its pitch. Just like a ladder, sheet music notes placed higher on the staff represent higher pitches, while notes placed lower represent lower pitches.
For notes extending beyond the five-line staff, use small ledger lines to expand the staff upward or downward temporarily. These short horizontal lines allow songwriters to write very high or very low notes that wouldn’t fit on the standard staff.
The Clefs
Clefs are special musical symbols placed at the beginning of the staff that tell you which sheet music notes correspond to which lines and spaces. The two most common clefs are the treble clef (also called the G clef) and the bass clef (also called the F clef).
The treble clef curls around the G line (the second line from the bottom), indicating that this line represents the note G. This clef is typically used for higher-pitched musical instruments and the right hand in piano music.
The bass clef has two dots surrounding the F line (the second line from the top), representing the note F. This clef is used for lower-pitched instruments and the left hand in piano playing.
The Grand Staff
The grand staff combines the treble and bass clefs, connected by a vertical line on the left side. It is primarily used for piano music and vocal scores, allowing composers to write music that spans a wide range of pitches.
The grand staff creates a complete picture of the keyboard, with middle C appearing on a middle line between the two staves. This arrangement makes it easier to play musical pieces simultaneously with both hands on the piano.
When reading piano sheet music on a grand staff, the right hand plays the notes in the treble clef (top staff), while the left hand plays the notes in the bass clef (bottom staff). This layout mirrors how you play the piano—higher notes with your right hand, lower notes with your left, making the music easier to follow.
Note Placement
The placement of notes on the staff determines their pitch, whether they sound high or low. Notes can sit either on a line or in a space between bar lines, with each position representing a specific note name (A through G).
You can use memory devices (called mnemonics) to identify note names.
Treble clef:
- Spaces from bottom to top spell the word “FACE,” (F, A, C, E)
- Lines from bottom to top can be remembered with the phrase “Every Good Boy Does Fine” (E, G, B, D, F).
Bass clef:
- Spaces from bottom to top spell “All Cows Eat Grass” (A, C, E, G)
- Lines can be remembered with “Good Boys Do Fine Always” (G, B, D, F, A).
Note Values
Note values tell you how long to hold each note, which is essential for creating rhythm in music. The shape of a note head, along with its stem and flags, indicates its duration relative to other notes.
- A whole note (an empty oval with no stem) receives four beats in common time, making it the longest standard note value.
- A half note (empty oval with a stem) gets two beats.
- A quarter note (filled-in oval with a stem) receives one beat.
Add flags to the stems for shorter durations, creating eighth notes (one flag, half a beat) and sixteenth notes (two flags, quarter of a beat). Understanding how many beats each note receives is crucial for maintaining the correct timing when learning to make music.
You can further modify note values with dots and ties. A dot after a note increases its duration by half its original value, while a tie (a curved line connecting two notes of the same pitch) combines their durations into one sustained sound.
Read more: See how music production software can help shape your sound.
Rests
Rests indicate periods of silence in music, and they’re just as important as the notes themselves. Like notes, rests have different values that tell you how long the silence should last.
- A whole rest (looks like a top hat hanging from the fourth line) indicates four beats of silence.
- A half rest (looks like a top hat on the third line) signifies two beats of silence.
These visual differences help musicians quickly distinguish between different rest values.
Quarter, eighth, and sixteenth rests have distinct symbols corresponding to their note value counterparts. Properly observing rests creates the breathing spaces in music essential for phrasing and expression.
If you want to know how to make music, build anticipation, and allow listeners to absorb what they’ve just heard, you need to use rests. Great musicians understand that rests aren’t just empty spaces; they’re active, intentional moments that shape the emotional impact of a piece.
Get Early Access
To Promo Hype
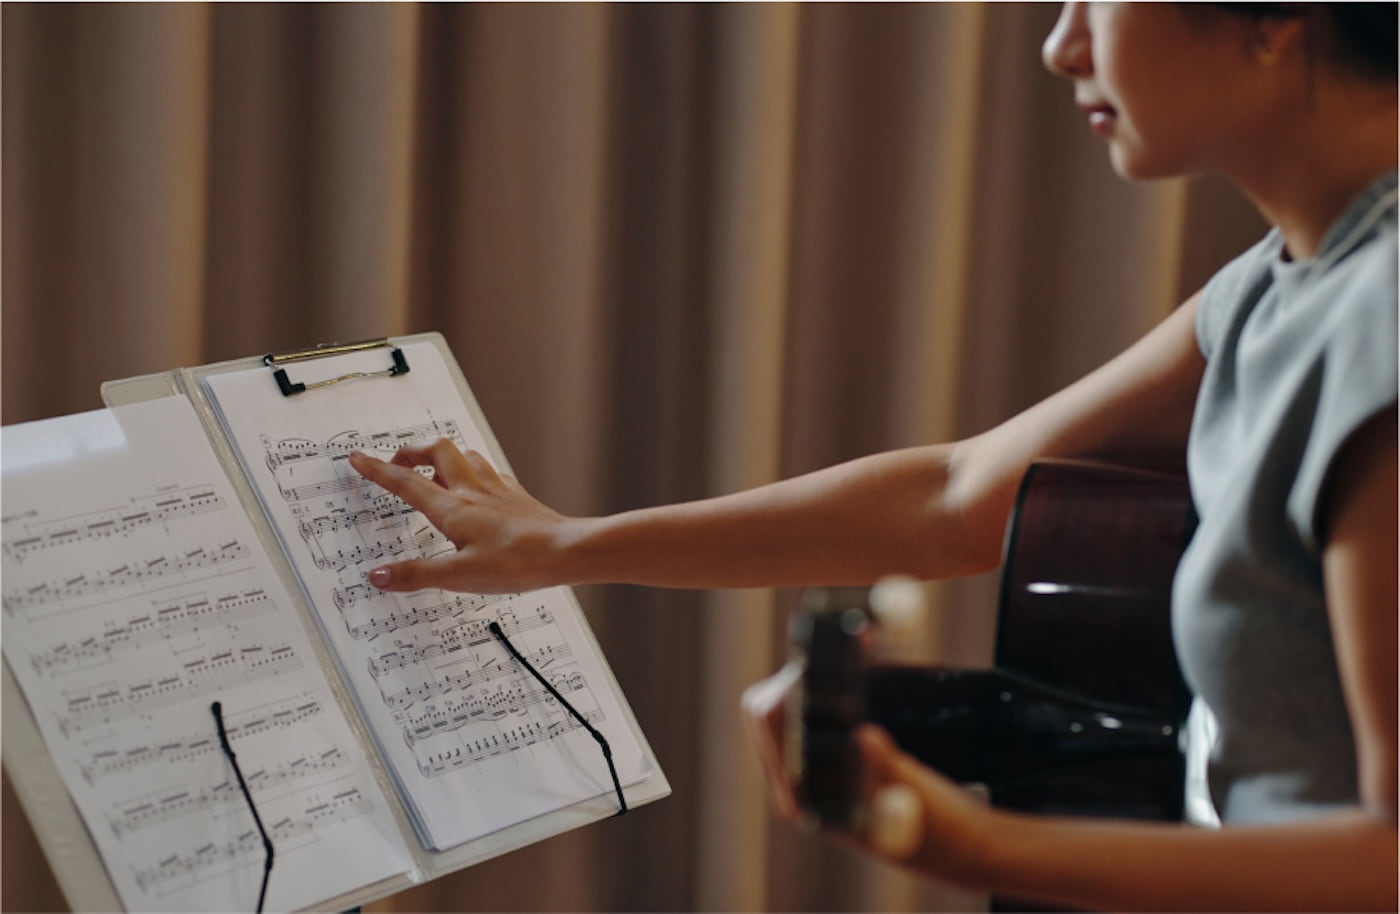
How To Read Sheet Music: Step-By-Step
Learning to read sheet music is like learning any new language—it’s best approached step-by-step, gradually building your knowledge. This methodical approach helps prevent overwhelm and builds confidence as you master each component.
The process involves understanding the fundamental elements we’ve discussed and learning to apply them when reading actual music. It takes practice, but what initially seems complex will eventually become second nature.
Reading sheet music is one key to understanding song structure. Let’s break down this learning process into seven manageable steps.
Step 1: Learn The Basic Music Notes
Start by memorizing the note names on the treble and bass clefs using the memory devices mentioned earlier. Practice identifying note names by drawing an empty staff and labeling each line and space with its corresponding note name.
This visual association helps reinforce the relationship between staff positions and note names. Once you’re comfortable with the introductory music notes, expand to notes on ledger lines above and below the staff.
Pay special attention to middle C. This crucial note acts as the bridge between the two clefs and sits on the first ledger line below the treble clef or the first ledger line above the bass clef.
Flashcards with notes written on them can help you test your recognition speed. You can also try online music theory games to make learning notes fun and interactive.
Step 2: Understand Rhythmic Notation
Learn to recognize note values and their corresponding rests. This skill is essential for popular music genres, from pop and rock to jazz and hip hop, where rhythm drives a song’s energy.
Start with whole, half, and quarter notes, which form the foundation of rhythmic understanding. Practice counting beats by tapping a steady pulse and saying the counts out loud as you point to different notes on a simple piece of music.
For example:
- Count “1-2-3-4” for a whole note
- Count “1-2” for a half note
- Count “1” for a quarter note
Gradually introduce eighth and sixteenth notes as you become comfortable with basic rhythms. Practice clapping or tapping complex rhythmic patterns to develop a physical sense of how these values relate.
Try converting simple songs or rhythms you already know by ear into written notation. This exercise helps bridge the gap between what you hear and see, strengthening your understanding of how rhythm is visually represented.
Step 3: Learn How To Read Time And Key Signatures
Learn how to read time signature; the two numbers at the beginning of a piece that look like a fraction. The top number tells you how many beats are in each measure, while the bottom number tells you what type of note gets one beat.
Start with common time signatures, such as 4/4 (four-quarter notes per measure) and 3/4 (three-quarter notes per measure).
Here are some examples:
In 4/4 time:
- There are 4 beats per bar
- Each beat is a quarter note long
- It’s often called “common time”
In 3/4 time:
- There are 3 beats per bar
- Each beat is a quarter note
- Think waltzes—1-2-3, 1-2-3
A written key signature tells you two things about a piece of music:
- The key determines the piece’s tonal centre (or home note), such as C major or E minor.
- Identifies which notes are sharp or flat. For example, if the key signature has one sharp (F♯), it tells you that every F in the piece should be played as F♯ unless otherwise indicated.
A circle of fifths diagram can help you visualize the relationships between different key signatures.
Learn how to use Promo Hype to distribute your music.
Step 4: Start Reading Simple Pieces
Begin with simple pieces that stay within a limited range of notes and use basic rhythms. Children’s songs, folk tunes, and beginner method books offer excellent starting material for developing reading skills.
Practice reading and playing short musical phrases, focusing on getting the notes right and then adding the correct rhythm. Resist the urge to memorize the music; the goal is to develop the ability to read and play simultaneously.
Gradually increase the complexity of the pieces you attempt as your confidence grows. Consider using a metronome set at a slow tempo to help maintain steady timing while you read, gradually increasing the speed as you become more proficient.
Recording yourself playing or singing can provide valuable feedback on your progress. Listen critically to identify rhythmic inconsistencies or hear errors you might not notice while performing.
Step 5: Understand Dynamic Markings
Beyond notes and rhythms, sheet music contains various markings that indicate how to play with expression. These include dynamic markings (how loud or soft), articulation symbols, and tempo indications.
Familiarize yourself with standard Italian terms used in music, such as “forte” (loud), “piano” (soft), “allegro” (fast), and “adagio” (slow). Those little dots, curves, and symbols scattered throughout the music aren’t just decoration. They’re the composer telling you to give specific notes personality.
A staccato dot says, “Keep me short and bouncy,” while a curved slur states, “Play us smoothly.”
Pay attention to performance directions that describe the emotional quality of the music, like “con brio” (with vigor) or “dolce” (sweetly). These subjective markings invite your interpretation while guiding you toward the composer’s intended emotional landscape.
Step 6: Practice Sight Reading Regularly
Dedicate time to sight reading, playing music you’ve never seen before, regularly. This skill develops your ability to process musical notation quickly and accurately.
You can start with material slightly below your current playing level so you can focus on reading fluently rather than struggling with technical challenges. Gradually increase the difficulty as your reading improves.
Consider joining a community band, orchestra, or choir where regular sight-reading is part of the experience. The supportive pressure of playing with others can accelerate your skills while making the learning process more enjoyable.
Step 7: Connect Theory With Practice
As your skills improve, dabble in music theory—scales, intervals, and chord building. It’s the grammar behind the musical language.
Soon, you’ll spot patterns everywhere, like recognizing familiar phrases in conversation. Your brain will group notes into musical “chunks” instead of reading one note at a time.
When you spot these patterns, you’ll read entire musical phrases at a glance instead of plodding through note by note. Try dissecting your practice pieces, hunting for key changes, and, if playing guitar, studying chord progressions and different types of chords.
Summary
Learning how to read sheet music transforms those mysterious symbols into a tool for musical expression and understanding. With consistent practice and patience, you’ll gradually develop the ability to translate written notation into beautiful music.
Remember that becoming fluent in reading music is a journey, not a destination. Even professional musicians continue to refine their sheet music skills throughout their careers.
As you continue developing your reading skills, you’ll discover how this universal language connects you to countless musicians and a rich legacy of musical creation that spans centuries and cultures.
Get Early Access
To Promo Hype
Join Promo Hype


Want the latest Unsigned Advice?
Subscribe to our mailing list to get tips, tricks and hacks straight to your inbox!