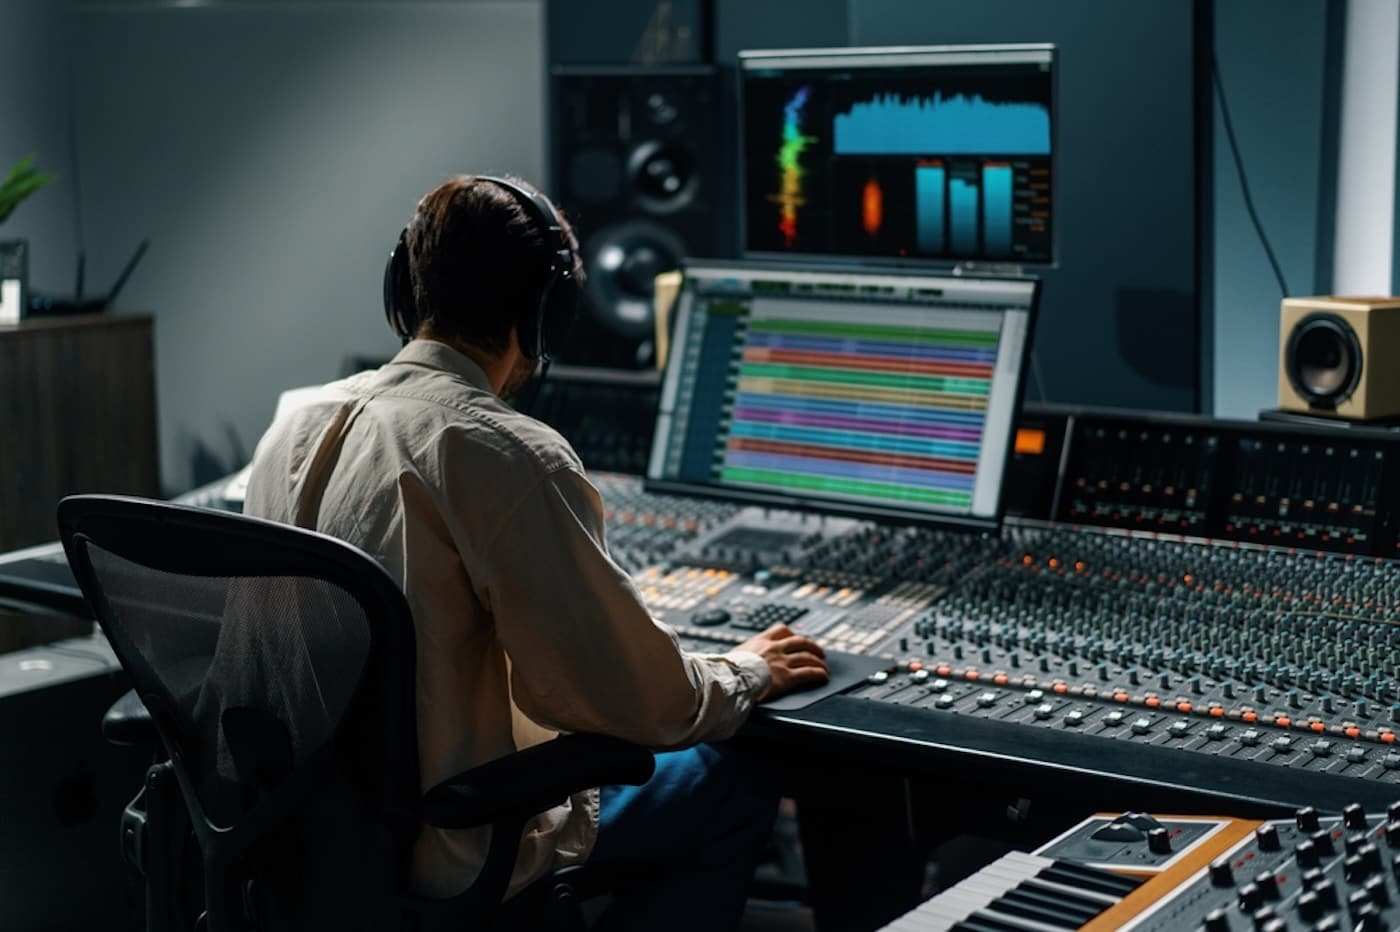
Whether recording vocals from singer-songwriters or producing for bands, setting up a home recording studio is essential to get the job done well.
Building a home recording studio setup doesn’t have to be expensive, with affordable equipment and software available for all processes.
This guide outlines the essential hardware and accessories required to build a high-quality home recording studio setup.
Get Early Access
To Promo Hype
Key Takeaways
- Setting up a home recording studio can be achieved on a small budget thanks to the availability of affordable software and equipment.
- Your choice of music genre will impact your home studio, with live instrument-based setups using different gear compared to electronic music setups.
- Many home studios are ongoing works in progress, allowing producers to upgrade equipment and add new processes over time.
Home Recording Studio Setup: Understanding The Workflow
Before investing in your studio equipment, it’s essential to understand how it relates to the music production workflow.
Here’s an overview of the core workflow your studio will cover when you start producing music:
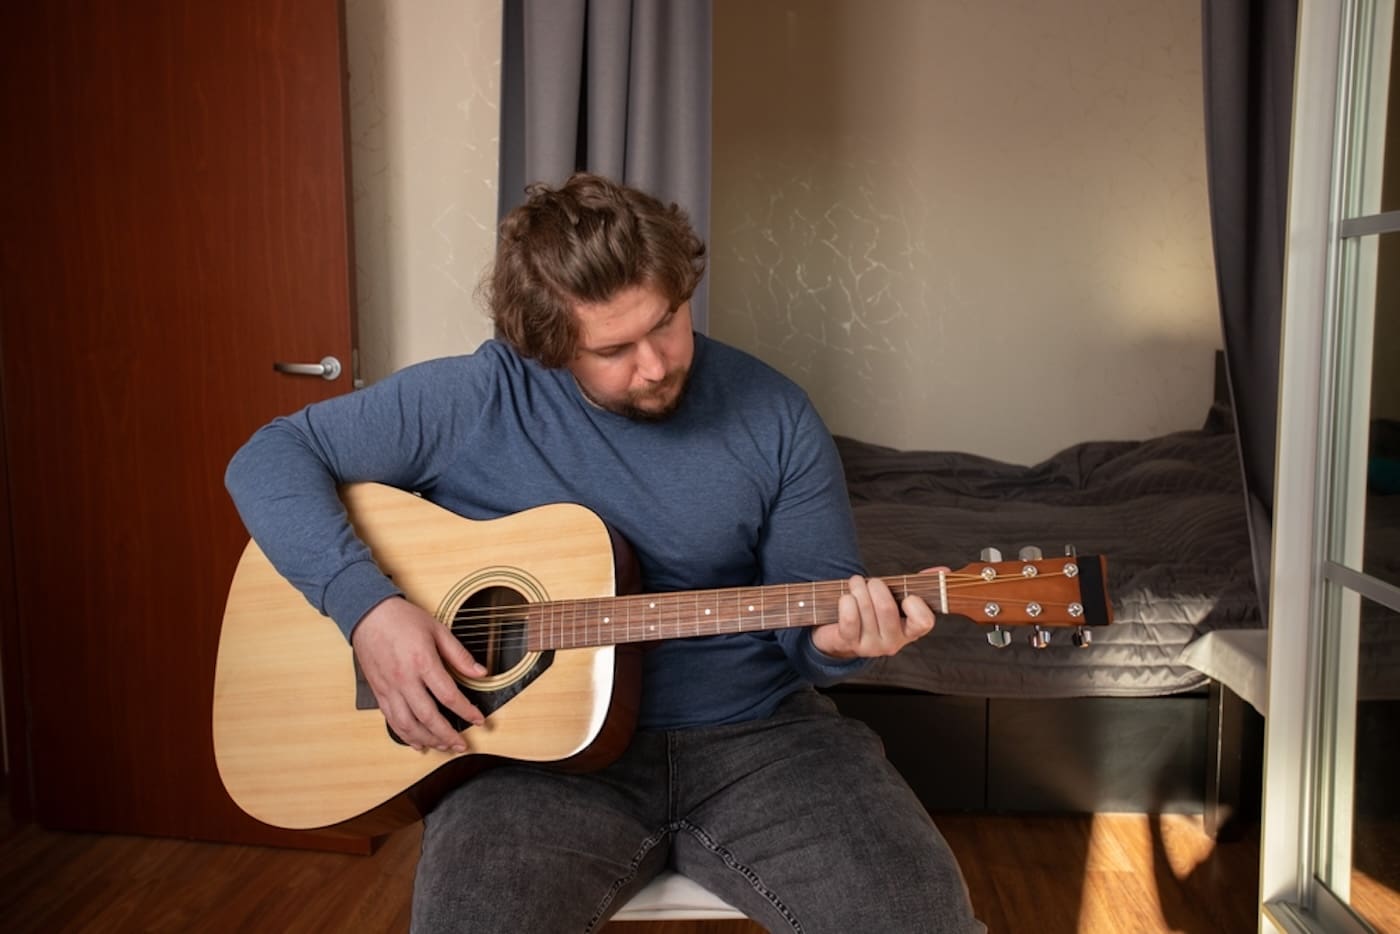
- Songwriting and arrangements: Before you can begin recording music, you’ll need to write the song’s lyrics, melodies, and other instrumental arrangements. While not all music producers know how to read sheet music, a familiarity with the process will streamline your recording sessions.
- Recording vocals and instruments: After the song has been written, the next step in the workflow is to record vocals and instruments in the studio. This can be done in group sessions for bands or by recording elements separately, ready for editing.
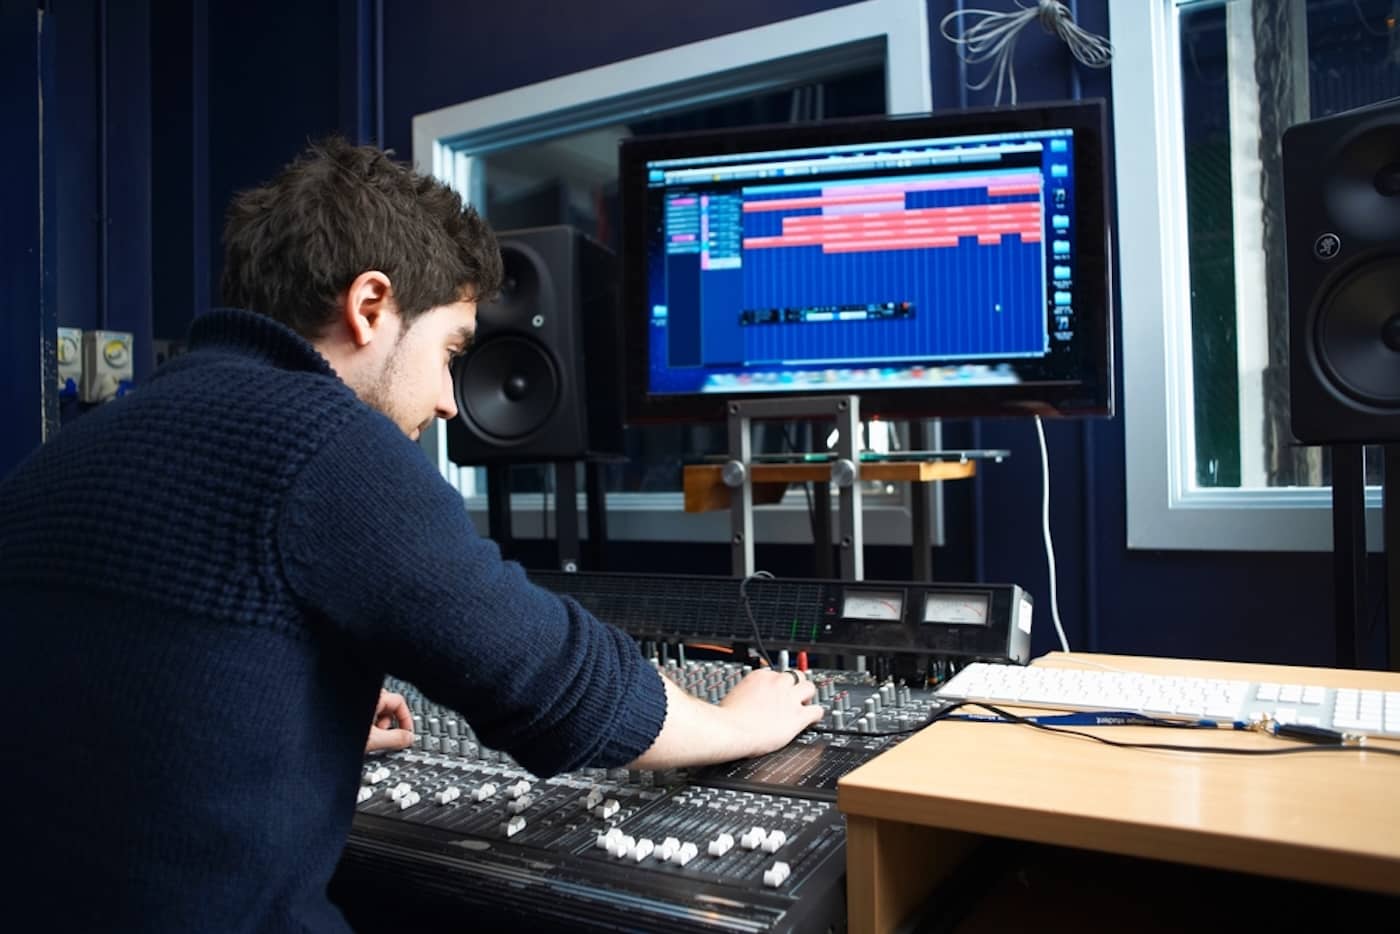
- Editing MIDI and audio recordings: Once your material has been recorded, it can be trimmed and edited using music software, such as a digital audio workstation. Effects ranging from reverb and delay to chorus and other filters can be applied to create a unique sound for the track.
- Mixing and mastering: The final stage of the recording studio workflow is mixing and mastering, which ensures that everything sounds professional across various sound systems. You can perform these processes on DAWs or pay for professional mastering services for your tracks.
This basic workflow varies depending on your music style, with electronic music production requiring less recording to achieve a polished sound.
Access leading music distribution and promotion services with a Promo Hype membership.
How To Build A Home Recording Studio In 2025 (Step-By-Step)
Setting up a home recording studio that delivers the desired results can be challenging, with multiple hardware and software options to consider.
Let’s break down the ultimate home recording studio setup, from preparing your space to choosing the best gear for your production workflow.
Step 1. Prepare Your Studio Space
The first step when designing a home recording studio is to select a room that has enough space and resources for your gear.
This begins with choosing a room that has minimal background noise, such as a spare room at the back of the house away from street noise.
Once your studio space has been decided, check for power sources and determine where you want ot position your main desk and other hardware.
If you’re using additional gear, such as mixing consoles and extra synthesizers, ensure your layout allows for a streamlined workflow.
Home recording studios oriented toward bands and singer-songwriters will also require space for artists to perform.
As such, cable management must be efficient and discreet to avoid accidents, and dedicated vocal recording booths can be added.
If your budget permits, you can invest in a dedicated music production desk with stands for monitor speakers and multiple shelves for gear.
This will integrate your recording workflow with other music production processes without leaving a centralized hub.
Step 2. Invest In A Reliable Computer
Windows and Mac computers are equally capable of running a home recording studio, and your preference will influence your software options.
Before investing in a new computer, you can check your existing device’s specifications to see if they’re up to the task.
If it doesn’t meet the minimum specification requirements for your chosen software, you can upgrade your RAM and other components.
This is a more affordable option that can be performed over time to upgrade computers to streamline your workflow incrementally.
For those with a higher budget for their home recording studio, dedicated music production PCs are available, offering optimized specifications.
This ensures your system delivers low-latency audio performance and stability in your preferred DAW when running large projects.
Step 3. Choose A Digital Audio Workstation (DAW)
A digital audio workstation is the central hub through which your recordings will be edited, mixed, and arranged into complete songs.
The best DAWs feature intuitive user interfaces with streamlined workflows that enable the creation of complex arrangements on projects.
You can start with a free-to-use DAW or use professional-level software that matches industry standards for recording studios.
There are also emerging AI-powered DAWs that are changing the way producers approach the overall music production process.
Let’s examine some of the primary considerations when choosing a digital audio workstation for your recording studio:
Computer Operating System
While some DAWs offer cross-platform compatibility, Apple users have the option to choose dedicated software for their operating system.
Logic Pro X for Mac is one of the best DAWs on the market, offering a comprehensive suite of tools for recording, editing, mixing, and mastering tracks.
Alternative DAWs that offer comparable tools include Cubase Pro, which is often used for film scoring, and Pro Tools.
The latter is the industry standard recording software for many professional studios, with a strong emphasis on multitrack recording.
Available Budget
If you lack the funds for a high-end DAW, there are several free-to-use options available for Mac and Windows platforms.
For Mac users, GarageBand is the go-to software for singer-songwriters and bands, with an impressive suite of tools.
Audacity is another excellent DAW packed with features that are free to use and can be installed on Windows computers.
You should also consider payment options and whether you prefer a monthly subscription or a one-time payment.
Style Of Music
Different DAWs have their strengths and weaknesses that lend them to stronger applications for various music genres.
If your studio is designed for recording live instruments and vocals, Pro Tools and GarageBand may be the best options for you.
On the other hand, electronic music producers will benefit from Ableton Live or FL Studio, which are specifically designed for this style.
Fortunately, DAWs can be enhanced through both paid and free VST plugins that emulate traditional hardware, thereby opening up creative possibilities.
Step 4. Add An Audio Interface
To direct your recordings through music production software, you’ll need an audio interface that includes the necessary connections.
The best audio interfaces incorporate a variety of inputs for connecting microphones and instruments, ensuring they are ready for recording.
While a budget-friendly audio interface will suffice for most beginner studio setups, more advanced options are needed when recording many musicians.
As such, checking the number of inputs should be one of your top priorities when choosing an audio interface for your studio.
An audio interface also features MIDI connectivity, allowing it to be used with a MIDI keyboard or other MIDI-based studio hardware.
Here’s an overview of other factors to consider when choosing an audio interface for your home recording studio:
- Input and output types: In addition to verifying the number of inputs and outputs on an audio interface, you should also confirm their types. XLR and TRS formats are used for microphones, with MIDI inputs and outputs for different headphone jack sizes should also be checked.
- Quality of the preamp: An audio interface also requires a high-quality preamp to ensure the best possible sound quality for your projects. This is especially relevant when recording singing and acoustic instruments using dynamic microphones.
- Sample rate and bit depth: When it comes to sample rates and bit depth, the higher the value offered by an audio interface, the better the performance.
- Low-latency performance: Whether using a basic USB audio interface or a professional-level model, low latency is essential. This ensures sound waves are heard instantly through headphones or speakers without any delay.
You can assess the potential of a given audio interface by reading through reviews and feedback that address these factors.
Get Early Access
To Promo Hype
Step 5. Invest In Microphones
High-quality microphones are essential for bringing your songwriting capabilities to life and accurately recording vocals and instruments.
There are three primary types of microphones used in music production: condenser microphones, dynamic microphones, and ribbon microphones.
Let’s break down each of these microphone types and their typical applications when recording audio for music projects:
- Condenser microphones are the most common type of microphone used for recording vocals and musical instruments. They come in two formats: small-diaphragm and large-diaphragm. The latter format delivers the best audio quality across a broad range of recording techniques and instruments.
- Dynamic microphones: More often used for live performances, dynamic mics can handle higher volume levels of sounds without creating distortion. While they can also be used in a recording room for audio production, the condenser microphone will get the most use.
- Ribbon microphones: A less common type of microphone is ribbon mics, known for producing a mellower, softer sound compared to other studio-based microphones. This softness lends ribbon microphones to recording vocals, choral arrangements, and instruments like acoustic guitars.
To select the best ones, research various guides on choosing studio microphones to find models that match your budget and needs.
Over time, you can replace budget microphones with higher-quality models and introduce additional microphones to record more instruments simultaneously.
Step 6. Incorporate A Control Surface
Setting up a home recording studio requires a robust control surface and interface for managing a range of production processes.
Most studios are designed around a central control surface, which incorporates the knobs, sliders, and other controls necessary for production.
This can be as simple as a MIDI keyboard, which users can map to desired parameters and controls for tools in their DAW.
Such controllers allow producers to play virtual instruments and manipulate other external audio sources with tactile and responsive controls.
These devices enable an organic approach, whether by applying filters to specific chord types or adjusting stereo width across samples.
Some home recording studios also feature dedicated mixing desks that allow for EQing across multiple inputs.
While famous producers are known for using bespoke consoles, numerous affordable options are available for a home recording studio.
Reputable manufacturers such as Behringer, Novation, PreSonus, and Allen & Heath all offer models tailored to different budgets and requirements.
Step 7. Use Monitor Speakers & Headphones
When setting up a new home recording studio on a budget, it can be tempting to use standard hi-fi speakers in your setup.
While this will save money, dedicated studio monitors are still necessary for critical listening and ensuring that mixes accurately replicate the desired acoustic properties.
This is because studio monitors are designed for a flat frequency response, whereas hi-fi speakers typically enhance aspects like bass frequencies.
By investing in dedicated studio monitors, you’ll get the most out of the best music production equipment used in your setup.
Likewise, high-quality headphones are also a worthwhile investment, particularly if you’re producing at night and don’t want to disturb neighbors.
By using high-quality speakers and headphones in post-production, you can create music worthy of being signed to a record label.
Step 8. Acquire Cables & Accessories
It goes without saying that a home recording studio requires a series of cables to connect everything together.
The range of cables required will vary based on your setup, from straightforward connections to complex rigs for recording drums and instruments.
For your condenser mic setup, XLR cables are used, while 1/4″ cables can be used for instruments with DI boxes to use with XLR inputs.
In addition to cables, you can select a range of accessories to streamline your setup, including microphones and keyboard stands.
Step 9. Consider Additional Hardware
A home recording studio offers endless scope for additional hardware to expand your creative choices when making music.
This can include physical hardware versions of popular VST plugins for audio compression, limiters, and other effects units.
It can also cover drum machines, synthesizers, samplers, and other hardware typically used in the production of electronic music.
Studio hardware for band productions can range from electric guitar amps and a drum kit to pianos and other traditional instruments.
Step 10. Soundproof With Acoustic Treatment
The final stage when setting up a home studio is applying room treatment to control sound reflections in your recording room.
Acoustic treatment doesn’t have to be costly, and you can focus your panels in limited areas and still achieve great results.
There are methods you can adopt to make homemade acoustic panels, as well as cost-effective alternatives from dedicated vendors.
It’s an essential element of a home studio to ensure your music sounds polished and ready to submit to radio stations.
Read next: Learn how to make music with this step-by-step guide.
How Much Does It Cost To Build A Home Recording Studio?
There’s an extensive selection of free and paid software, as well as budget-friendly and professional gear, to use in a home recording studio.
This makes it possible to set up a home recording studio on a tight budget or invest thousands of dollars in a high-end setup.
Here are some factors to consider when budgeting for your home recording studio setup:
- Room size and shape: Many hobbyist producers set up their first studio in a small bedroom, which makes it easier to work with more affordable gear. The room size and shape will also impact your spending on acoustic treatment and other recording studio features.
- Available budget: If you’re setting up a studio on a tight budget, there are affordable options and free music editing tools you can use. On the other hand, if money is no object, investing in high-end microphones, studio monitors, and other professional-grade equipment will significantly enhance the experience.
- Music production experience: Your level of experience with music production will also impact the budget for your home recording studio. Newcomers may want to stick with easy-to-learn basic tools, while those with more experience may require gear with more in-depth features.
If you begin with a budget-friendly studio setup, you can upgrade various components over time to improve its quality.
Average Costs For Beginner, Intermediate & Professional Studios
We’ve covered some of the primary considerations when budgeting for software and equipment for your home recording studio.
Here’s a breakdown of the average costs for a studio for beginners and those with intermediate or professional-level experience:
- Beginner home recording studio: Building a bare-bones home recording studio that incorporates a free DAW and other free resources is relatively inexpensive, with a budget range between $500 and $1000.
- Mid-tier home recording studio: If you want to invest in additional hardware, a MIDI keyboard, and a comprehensive DAW with a powerful computer, you can expect a budget range of $1000 to $3000.
- Professional standard recording studio: Those with large budgets who want to emulate the professional studios used for the most popular music genres can expect to pay upwards of $10,000.
Researching your options within your available budget will ensure your home recording studio covers the features needed for your musical style.
Optimizing Your Home Recording Studio Setup
Investing in home recording studio equipment means setting everything up for optimal performance and a streamlined workflow.
Let’s break down some of the essential tips for optimizing a home recording studio:
- Optimize the placement of studio monitors: Evaluating the quality of your recordings and mixing correctly requires the correct placement of your studio monitors. You can reference online guides to ensure your monitors are positioned for optimal stereo mixing and other processes.
- Arrange equipment for an efficient workflow: If your home recording studio includes multiple instruments and microphone setups, it needs to be efficiently arranged. This will ensure that everything is easily accessible without singers and musicians getting in each other’s way.
- Create a comfortable environment for sessions: Recording vocals and other instruments can be time-consuming, particularly when working on several tracks. If your studio has the space, consider including comfortable chairs or a couch for relaxation between takes.
- Consider a soundproof booth for recording vocals: Acoustic treatment is a great starting point for a recording space, but complete soundproofing will elevate your results. You can also consider creating a dedicated, soundproofed vocal booth for full control over your environment.
- Learn from great music producers: While most people lack the funds for a truly professional recording studio, you can still learn from the experts. Check out the workflow and setup of music industry producers like Quincy Jones and other leading figures.
As you work on more projects, you can incorporate any music production tips you get from your collaborative partners.
Reach New Fans With Promo Hype
Once you’ve mastered the art of recording music, it deserves to reach the broadest possible audience of music lovers.
With Promo Hype, you can reach millions of fans worldwide through a comprehensive range of tools for independent artists.
By becoming a Promo Hype member, you can:
- Distribute on all major music streaming platforms: Maximizing your music’s reach requires distribution on all major music streaming platforms. Promo Hype members can schedule and release tracks on Spotify, Amazon Music, TIDAL, Apple Music, and other platforms.
- Streamline marketing initiatives with the Promotional Toolkit: Releasing excellent tracks requires a strategy for promoting your music to your target audience. With Promo Hype’s Promotional Toolkit, you can effectively manage your marketing budget and allocate resources where they yield the best results.
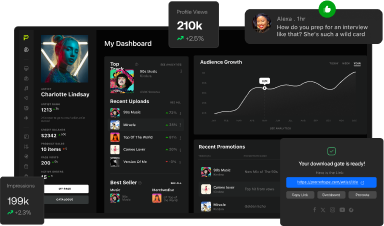
- Analyze performance and growth with the personalized Dashboard: Keeping track of your music’s performance across multiple streaming services can be a challenge. With Promo Hype’s Dashboard, members can analyze the performance of their music library through a range of powerful metrics.
- Engage with Promo Hype members in the Community: Collaboration is the key to success for independent artists looking to build a following. Promo Hype’s Community brings producers and musicians together to discuss collaboration and share insights into the creative process.
With in-depth tools and information to help drive your career, Promo Hype is an essential platform for successful independent artists.
Summary
Creating exceptional music involves investing in the necessary gear and software, as well as setting up a dedicated recording space.
Whatever your production style, this guide will help you set up a home recording studio that exceeds expectations.
The more sessions you hold, the more you can refine your workflow and upgrade equipment to produce professional-sounding music.
Get Early Access
To Promo Hype
Join Promo Hype
Want the latest Unsigned Advice?
Subscribe to our mailing list to get tips, tricks and hacks straight to your inbox!