If you’re a songwriter or a music producer for bands, mastering the recording process is essential for professional-sounding results.
Learning how to record music begins with building a home recording studio that allows for an organized recording workflow.
This guide breaks down the essential equipment and processes for recording audio, ensuring that your song elements sound their best.
Get Early Access
To Promo Hype
How to Record Music at Home In 2025: Step-by-Step
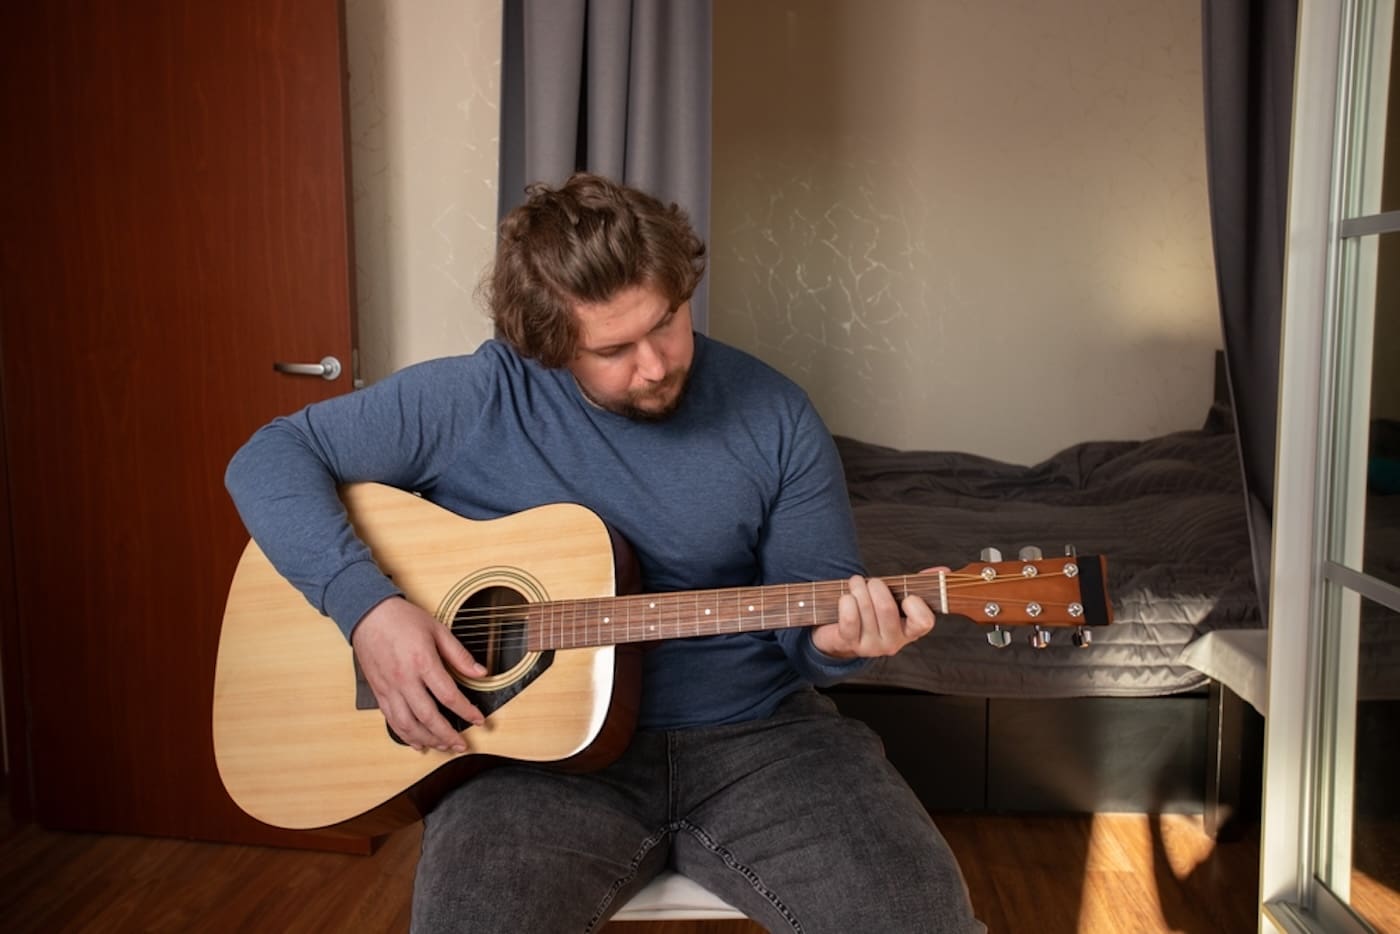
Whether you’re recording an acoustic guitar performance or a five-piece band, the process of recording music follows the same steps.
Let’s dive into the details of recording your own music, from setting up a home studio to recording, mixing, and mastering your songs.
Step 1: Set Up Your Home Recording Studio
Before you can start making music, you’ll first need to set up a studio to host and record your creative sessions.
This can be a basic studio setup on a tight budget, or a full-scale studio optimized for recording multiple singers and musicians.
Whatever your scope for production, here’s the core equipment you’ll need to record a song from start to end:
Audio Interface
The audio interface serves as the bridge between your microphones and instruments and your computer setup.
By converting analog signals into digital information, your software tools can process the data and transform it into great music.
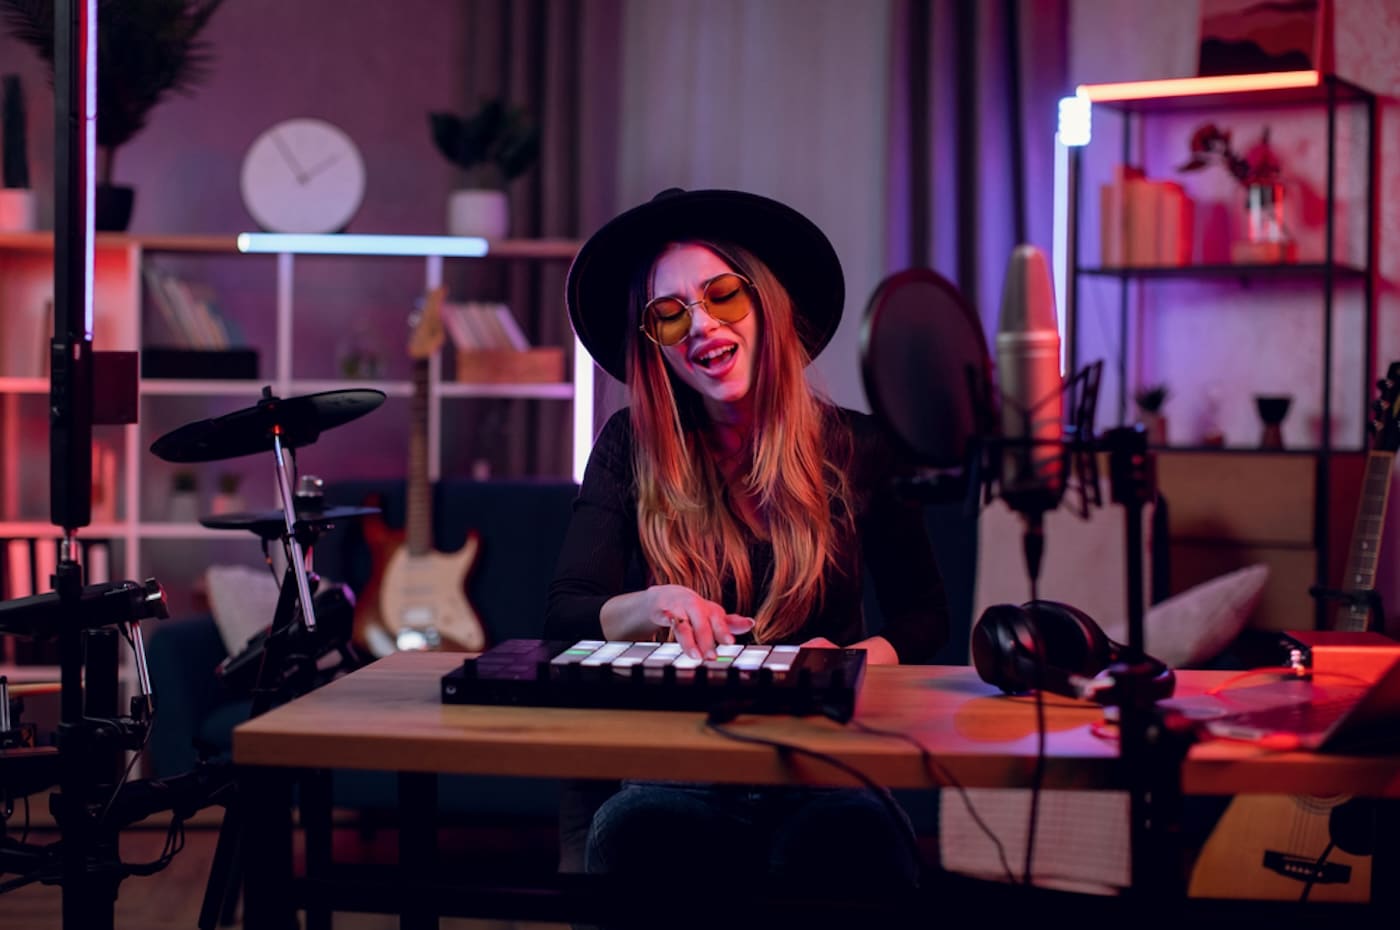
MIDI Keyboard
If you’re using virtual instruments or want a hands-on approach to mixing, a MIDI keyboard is another core piece of equipment you’ll need.
These can be used to work on compositions and arrangements, edit a vocal recording, and perform rhythmic instruments.
Studio Monitors
Incorporating high-quality studio monitors into your setup is another crucial consideration that ensures your audio recording sounds accurate.
Explore the best music production equipment within your budget range, selecting studio monitors that meet your requirements.
If you’re producing music solo, consider investing in closed-back headphones to help balance frequencies on individual tracks.
Microphones
An external microphone is another prerequisite for recording a song, with condenser microphones being the most commonly used in studios.
If you’re recording a specific instrument, research which type works best, such as the best acoustic guitar microphones available on the market.
Recording other instruments may require an alternative microphone, for instance, using dynamic mics to capture audio from electric guitar amps.
Learn more about Promo Hype’s features.
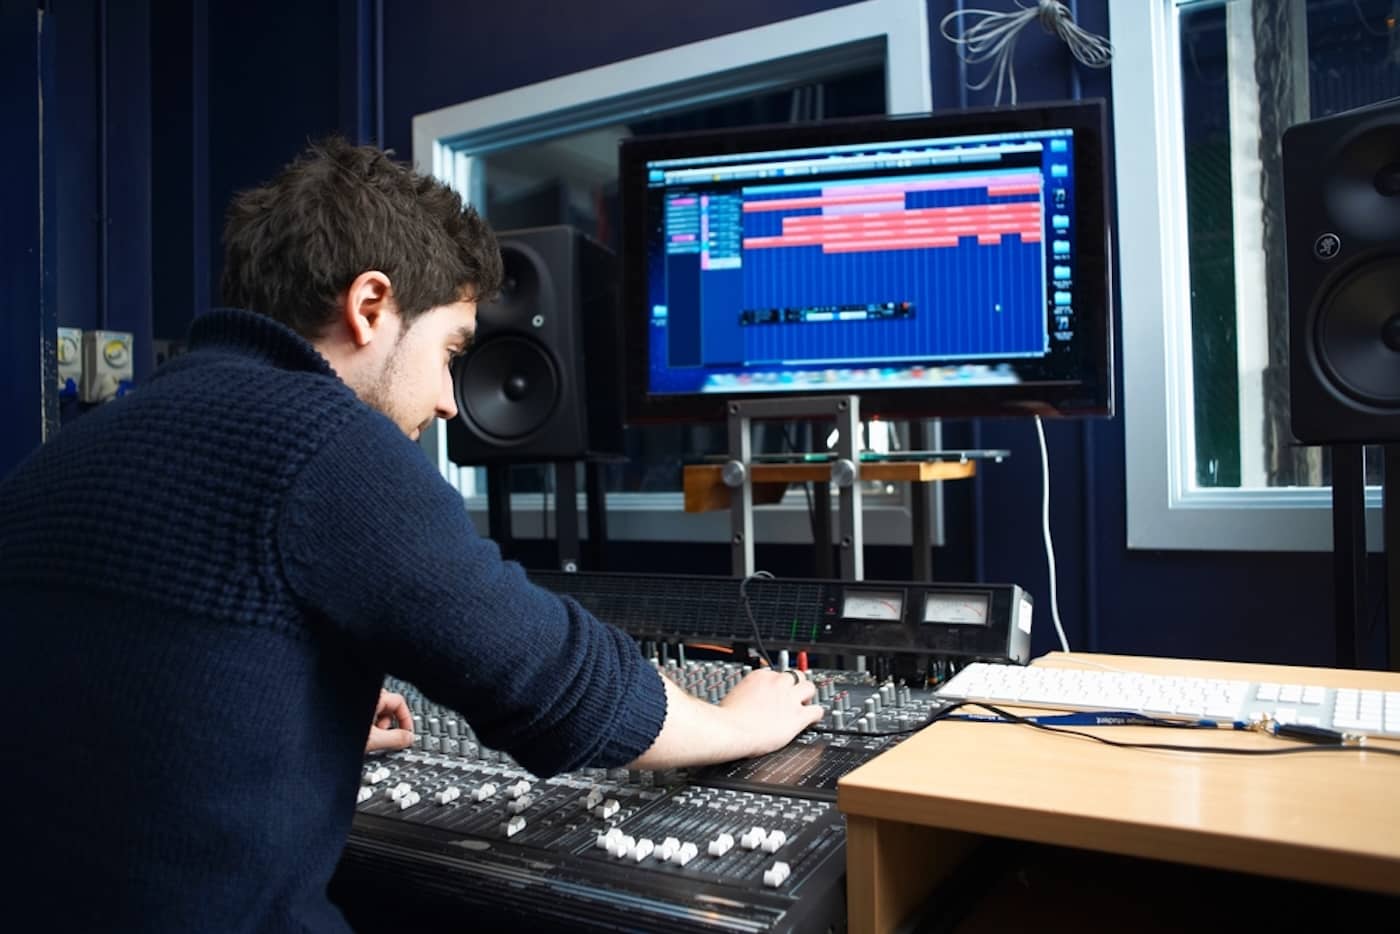
Recording Mixer
If your budget permits and you prefer a more tactile mixing experience, investing in a dedicated recording mixer is a must.
A valuable asset to any home recording studio, a mixing console offers robust tools for amplifying, combining, and processing sounds.
While many producers perform these tasks within a DAW, a hardware-based mixing desk can also come in handy for live performances.
Musical Instruments
Musical instruments aren’t always necessary when becoming a music producer, but for specific genres, they’re essential.
Pianos, guitars, and drums can all play a role in recording, along with other pioneering instruments that have shaped music history.
You can build up a collection of instruments over time, adding new percussion instruments and guitars when your budget permits.
Step 2: Choose A Digital Audio Workstation (DAW)
The days of albums being recorded on 24-track analogue tape are long gone, with most producers working with DAWs.
This music production software emulates traditional approaches, with editing, mixing, and mastering tools in a single, integrated environment.
There are free DAWs with beginner-friendly user interfaces, as well as fully-fledged professional tools for serious producers.
If you’re using an Apple computer, Logic Pro is the best DAW, while Ableton Live and FL Studio are better suited for dance music production.
For those serious about recording bands and want polished results, Pro Tools is the go-to DAW for music industry professionals.
Let’s take a look at some of the core features of digital audio workstations used to record a song:
Virtual Instruments
If you don’t have access to traditional instruments, you can use virtual instruments within your DAW to simulate their sounds.
Virtual instruments encompass everything from popular and classic synthesizers to emulations of pianos, wind, and brass instruments.
Plugins
While some studios feature hardware for effects, such as reverb and chorus, you can save money by using free VST plugins instead.
These plugins can be used to enhance vocals, instruments, and sound effects, creating more texture, depth, and presence.
Read next: Find out how to go viral on TikTok.
Step 3: Plan Your Recording Session
Preparation is the key to a successful recording session, streamlining the process and ensuring all musicians are on the same page.
Once you’ve written a song, you can break down the structure and assign vocalists and musicians the relevant musical instructions.
You can also set up the project in your DAW, adding the instrument and vocal tracks to the timeline and configuring plugins.
This stage should include establishing a clear folder structure with consistent naming conventions to facilitate easier tracking of audio files.
Step 4: Check Your Levels & Base Track
Before your musicians start playing their instruments, you should check your levels through the process of gain staging.
This is a core aspect of what a music producer does to ensure microphones and instruments are loud enough without distorting.
The basic process begins by setting each input’s volume to a moderate level, followed by adjusting the gain controls on the audio interface.
Once the recording begins, monitor the levels on the input meters, aiming for -10 dBFS for the loudest sections, with an average of around -18 dBFS.
You can then prepare a base track to guide the tempo of the performances, whether using a metronome or pre-prepared drum loop.
Step 5: Record The Rhythm Section
With the levels addressed and a base track ready, it’s time to hit record and lay down the first elements of the song: the rhythm section.
This element forms the foundation of the song’s structure, guiding the energy levels and incorporating percussive qualities, such as swing.
You can explore the most popular music genres for inspiration, using offbeat, syncopation, and fills to create more rhythmic variety.
Get Early Access
To Promo Hype
Step 6: Add The Harmonies
With the rhythm section sorted, the next step is to hit the record button and lay down the song’s harmonies.
Harmonies can be performed with various instruments, from types of chords on synths or pianos to flutes and guitars.
They bring depth and an expanded sense of space through chord progressions and can be enhanced with recording techniques.
One technique is stacking, which captures multiple takes of each instrument and blends the subtle differences of each take in the mix.
This creates a richer, more expressive harmony, resulting in an overall more nuanced and naturalistic sound.
Step 7: Follow Up With Melody Recordings
Once your rhythm and harmonies are recorded, the final layer of lead and supporting melodies can be added to the mix.
You can learn how to read sheet music and share this with singers and musicians, using high-quality mics to capture intricate vocals.
Some DAWs feature voice-to-MIDI options, allowing you to arrange vocal elements on a keyboard or edit and manipulate them in the piano roll.
Recording multiple takes will give you more editing options, allowing you to select the best ones for your post-production workflow.
Step 8: Add Sound Effects
Adding sound effects is another excellent way to elevate the style of a song, bringing atmosphere and mood to the piece.
There are lots of music production tips online you can refer to for inspiration, and if you have a decent mic, you can build your own effects library.
Alternatively, you can pick up free and paid sample packs that include a broad range of effects you can incorporate using your DAW.
The best music producers of all time, including George Martin and Brian Eno, achieved their distinctive sounds by utilizing effects.
Related read: Discover everything you need to know about MIDI.
Step 9: Mix Your Tracks
With all of your recordings complete, the song is now ready for comping, editing, and mixing in your chosen DAW.
Comping refers to the process of compiling the best takes from recording sessions into a unified instrumental or vocal performance.
Once selected, you can then begin mixing the music, using gain staging, EQ, and manipulating samples to achieve the desired effect.
Additional effects, such as reverb, delays, and audio compression, are also used to maximize loudness and add more expression to songs.
Producers also apply techniques such as stereo widening and panning to create a more immersive sound in the mix.
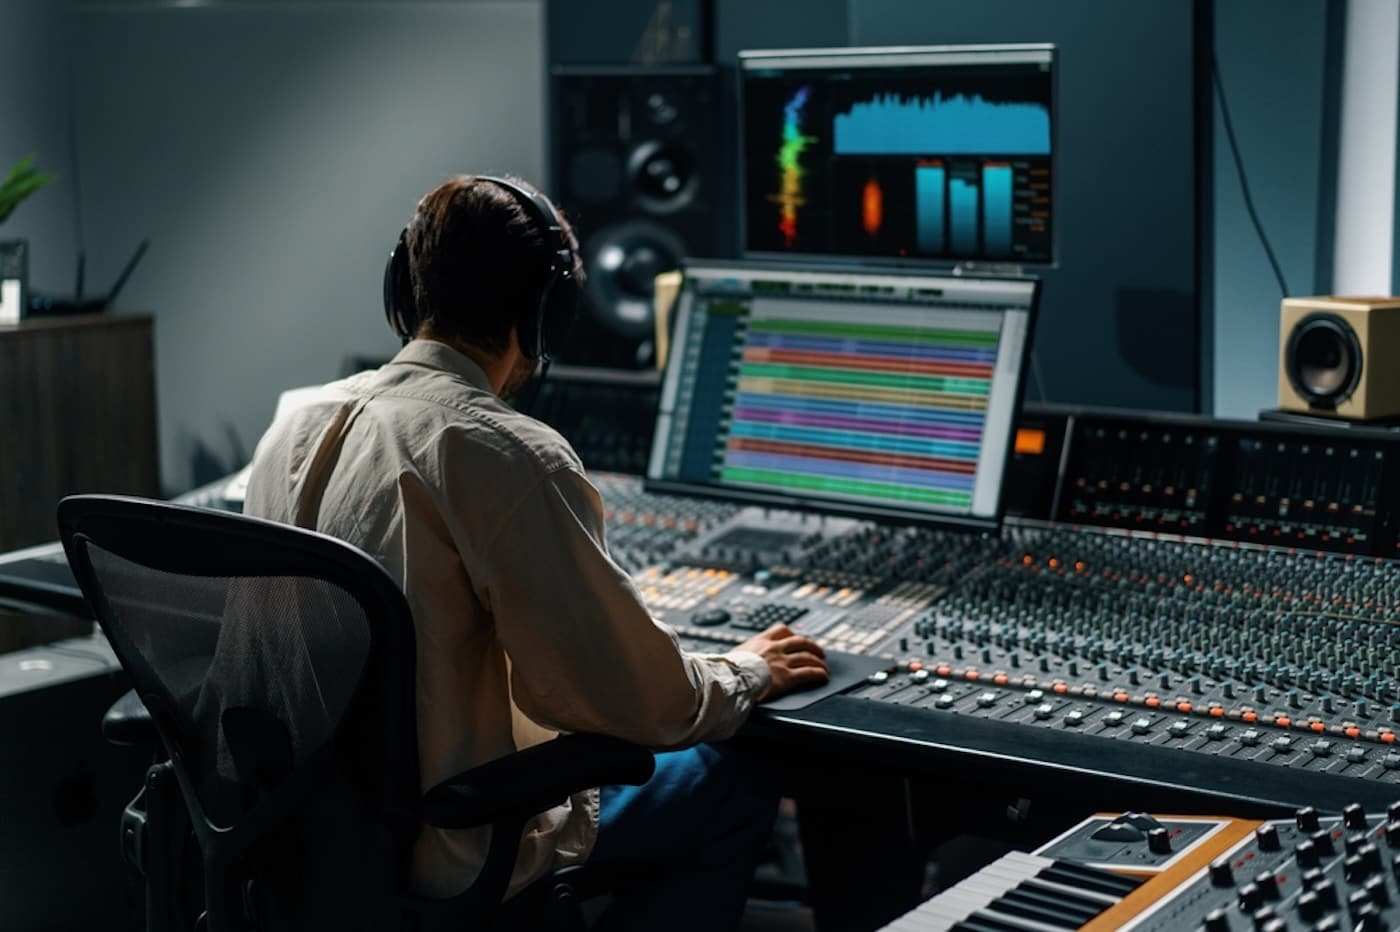
Step 10: Export & Master The Song
With your song mixed, it’s ready to be exported as a high-quality lossless WAV file for use in the final mastering stage.
While mixing and mastering share similar tools, mixing is applied to individual track elements while mastering affects the entire song.
You can perform the mastering stage on a DAW, although many producers use dedicated mastering services for polished results.
If you’re reaching out to record labels looking for artists, mastering your music is a crucial stage to enhance your chances of success.
Essential Resources
If you’re struggling with mastering audio recording or want to learn about the circle of fifths, there are lots of resources at hand.
Here’s an overview of the essential resources you can use to elevate your process and make professional-sounding music:
- Online music production courses: Numerous free and paid online courses are available that cover all aspects of recording, production, and songwriting. The best online music production courses cover the process of recording in detail to help you manage your projects.
- AI music tools: While artificial intelligence in music is a sensitive subject, there are AI music tools available that can streamline your learning process. The best AI music production tools suggest composition styles and other structural ideas, which you can use as a foundation for your songs.
- Music production schools: If you want a truly comprehensive education in audio recording, consider attending a dedicated music production school. The best music production schools offer access to professional recording studios, providing students with practical, hands-on experience.
These resources can prove to be invaluable for honing your knowledge of music theory and applying it to compositions and recordings.
Read more about Promo Hype’s music promotion services.
Frequently Asked Questions
We’ve covered the core process and associated music equipment needed for recording acoustic instruments, vocals, and other song elements.
In case you still have any concerns, here are some answers to frequently asked questions about how to record music at home:
Q: How Can I Record Music For Free?
If you’re looking into recording music for free, there are several tools and platforms you can use to get the ball rolling.
Free options, such as Audacity and GarageBand, include robust tools comparable to those found in the best DAWs.
You can also pick up free samples for your backing track, such as downloading an audio file of a pre-recorded drum loop.
Q: What Apps Can I Use To Record Music?
The aforementioned Audacity and GarageBand are available as handy apps that can be used to record vocals, instruments, and sound effects.
You can also start producing music on the move using BandLab, a completely free, all-in-one music production platform suitable for beginners.
Soundtrap, Voloco, and Moises are other popular apps that can be used for recording on smartphones and collaborating with other artists.
Q: When Should I Hire A Mastering Engineer?
While some music producers handle the mastering process, many successful independent artists opt for hiring a mastering engineer.
If you’re considering submitting music to radio stations or record labels, it’s highly advisable to consider using a professional mastering service.
You don’t have to spend a fortune, and the finished result will ensure your tracks will match the high-quality standard of your competitors.
Summary
Setting up a studio to record a song can be time-consuming, but once prepared, you’re ready to unleash your musical creativity.
By following the steps in this guide, you can start recording music with vocals and various instruments that blend well in the mix.
As your skills and experience improve, consider upgrading your equipment to enhance audio quality and streamline your workflow.
Get Early Access
To Promo Hype
Join Promo Hype

Want the latest Unsigned Advice?
Subscribe to our mailing list to get tips, tricks and hacks straight to your inbox!