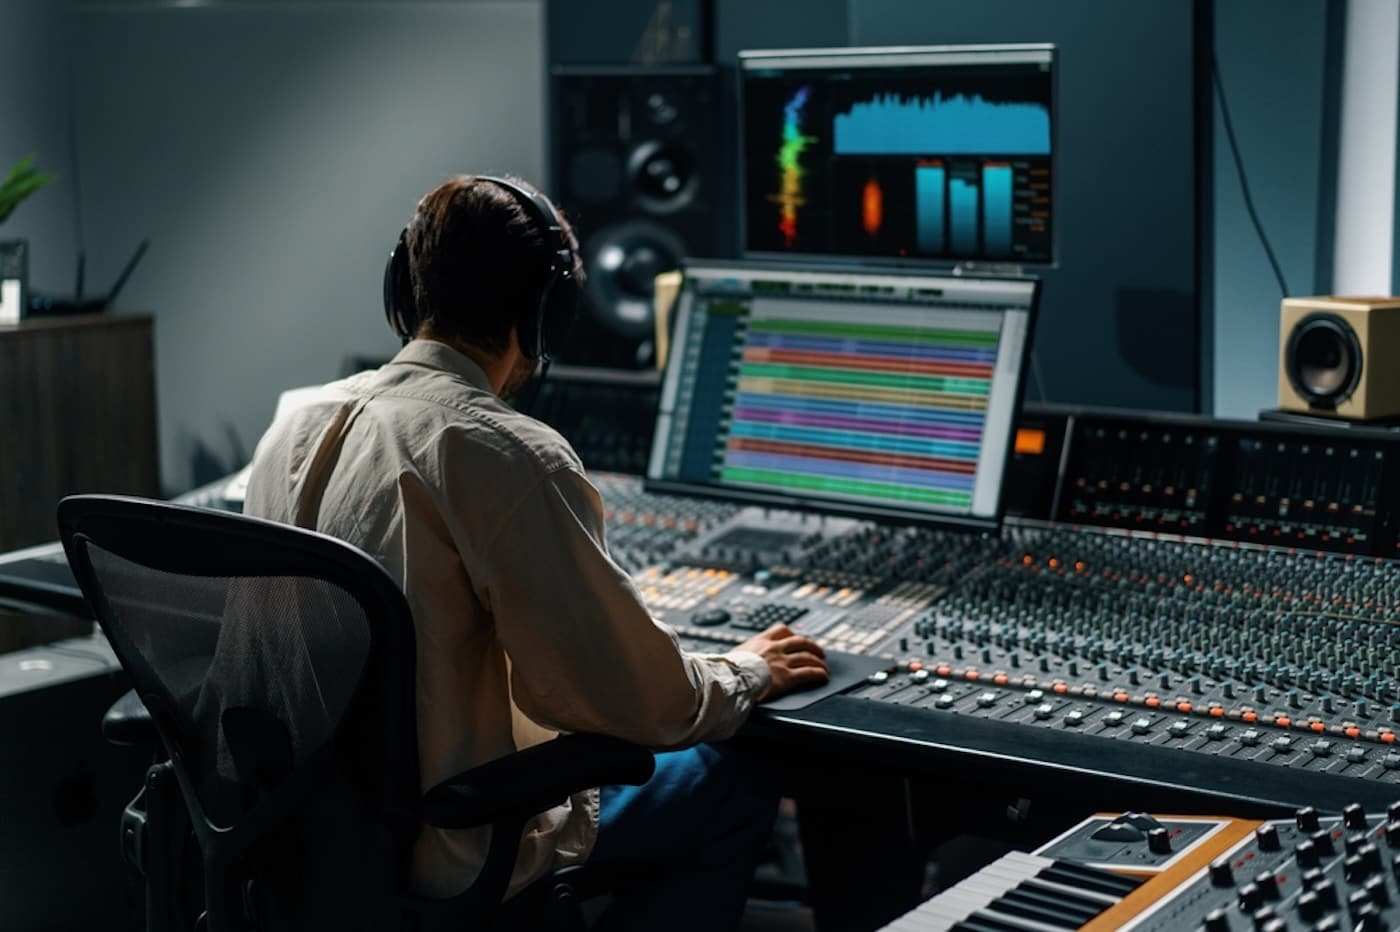
Digital audio workstations, or DAWs, are the backbone of modern music production, whether you’re making electronic music at home or working in a professional studio.
A DAW is a single software environment that lets you record, edit, arrange, and mix music from start to finish.
In this guide, you’ll learn what a DAW is, how it works, and how to use one to create polished, professional-sounding tracks.
Get Early Access
To Promo Hype
What Is a DAW?
DAW stands for “digital audio workstation,” a type of music production software used for recording, editing, and mixing audio sources.
It serves as a virtual, all-in-one platform to deliver a complete production workflow, whether creating music, podcasts, or visual media sound effects.
Various DAWs are available, from entry-level options for beginners to comprehensive production suites featured in professional studios.
How Do DAWs Work?
While different DAWs have their own workflows and features, the best DAWs integrate audio editing tools with software instruments.
These tools allow producers to make music by recording audio sources, arranging and editing them in a timeline.
Elements recorded in a traditional recording studio, such as vocals, can then be combined with sample-based instruments and plugins.
Additional capabilities include recording MIDI performance data via controllers and digitized audio captured from analog sources.
After manipulating these sources and editing their sound, producers can use a DAW to arrange and output the final track, ready for playback.
A Brief History Of Digital Audio Workstations
The history of digital audio workstations began with the emergence of the custom software Soundstream in 1978.
An expensive, mainframe-based editing package, Soundstream set the template for more affordable DAWs that followed.
In the early 1980s, the introduction of the MIDI data format enabled robust songwriting with electronic music sequencers.
By the 1990s, the emergence of Pro Tools and Logic reshaped the industry landscape, setting the standard for professional studios.
The introduction of VST plugin technology in Cubase VST in 1996 — followed by virtual instruments in later versions — was another pivotal moment.
Today, DAWs can be used to write a song without dedicated hardware, democratizing music production across all genres.
Related read: What does a music producer do?
Key Music Production Features in DAWs
Digital audio workstations cover the complete music production process, serving as a central hub for producers and songwriters.
Here’s a breakdown of the core DAW music production tools and processes:
- Recording and editing: DAWs can handle multiple tracks for recording vocals, traditional instruments, and creating sound effects. These recordings can then be edited and manipulated using time-stretching, slicing, and crossfading in the software.
- MIDI sequencing: For additional compositional processes, you can use a DAW for MIDI sequencing, using the software’s piano roll feature to compose and arrange virtual instruments.
- Virtual instruments and effects: Apply them to tracks for additional production, using free VST plugins that emulate classic synths and effects hardware.
- Mixing and mastering: DAWs also include a virtual mixing console that can be used when creating your own music to balance volumes and adjust the stereo sound. They also allow producers to master the final track ready for playback on various audio systems.
Additional features frequently available through a DAW include automation of selected parameters and tools for manipulating samples.
Essential Equipment You Need To Use A DAW
Before you can begin producing music using a DAW, you’ll need to invest in the necessary equipment to make the most of the software.
Here’s everything you’ll need to get up and running, whether making electronic music or producing for singer-songwriters and bands:
- Computer/laptop: A computer or laptop is essential for using a DAW, with a minimum of 8GB of RAM typically required for most software, along with a powerful multi-core processor.
- Audio interface: An audio interface is required to connect the DAW to external audio hardware, such as microphones and instruments, and to connect headphones and speakers to the computer.
- Speakers/headphones: Tracking audio during performances requires closed-back headphones to monitor performances. For accurate mixing, studio monitor speakers with an even frequency response ensure precise editing and mixing.
- MIDI keyboard: If you’re integrating virtual instruments into your music, a MIDI keyboard is necessary for performing melodies and chords in real-time. You can also consider using a pad controller to input beats and percussion directly into your music project.
- Accessories: Running a DAW requires a set of cables, such as XLR cables for microphones, along with accessories like stands, filters, and a workspace for your computer.
By ensuring everything is set up correctly, you can produce exceptional music and make money as an independent artist.
How To Use A DAW: Step-By-Step
If you’re completely new to music-making, navigating the various features and processes in a DAW can be daunting.
Here’s how to use a DAW to make great music, from setting up your production equipment to managing, recording, and editing projects:
Step 1: Choose Your Genre & Style
The music production process can vary considerably depending on the music genre and style it’s intended to facilitate.
This means weighing up the style of your own music making, choosing software and hardware that deliver optimal results.
Two broad categories affect your selection, with equipment for bands and singers differing from that for electronic music production.
While these categorizations aren’t fixed, understanding how each plays a role in the production workflow is necessary.
Step 2: Set Up Your DAW & Equipment
Once you’re clear on the style of music you want to start producing, it’s time to set up your computer and install a DAW.
You may need to configure your computer and audio interface to run the DAW smoothly, upgrading RAM and switching to an SSD for faster performance.
Here’s an overview of how to set up your DAW for dance music production, as well as for recording and editing vocals and traditional instruments.
DAW Setup for Electronic Music Production
Many DAWs are utilized for electronic-based music production, with software like FL Studio and Ableton Live often used for loop-based composition.
These options often include robust drum machines to streamline beat-making, along with sample libraries and VST plugins.
Other DAWs for similar styles include Reason, with its rack-based interface, and Bitwig Studio, which offers ample room for experimentation.
DAW Setup for Bands and Live Instruments
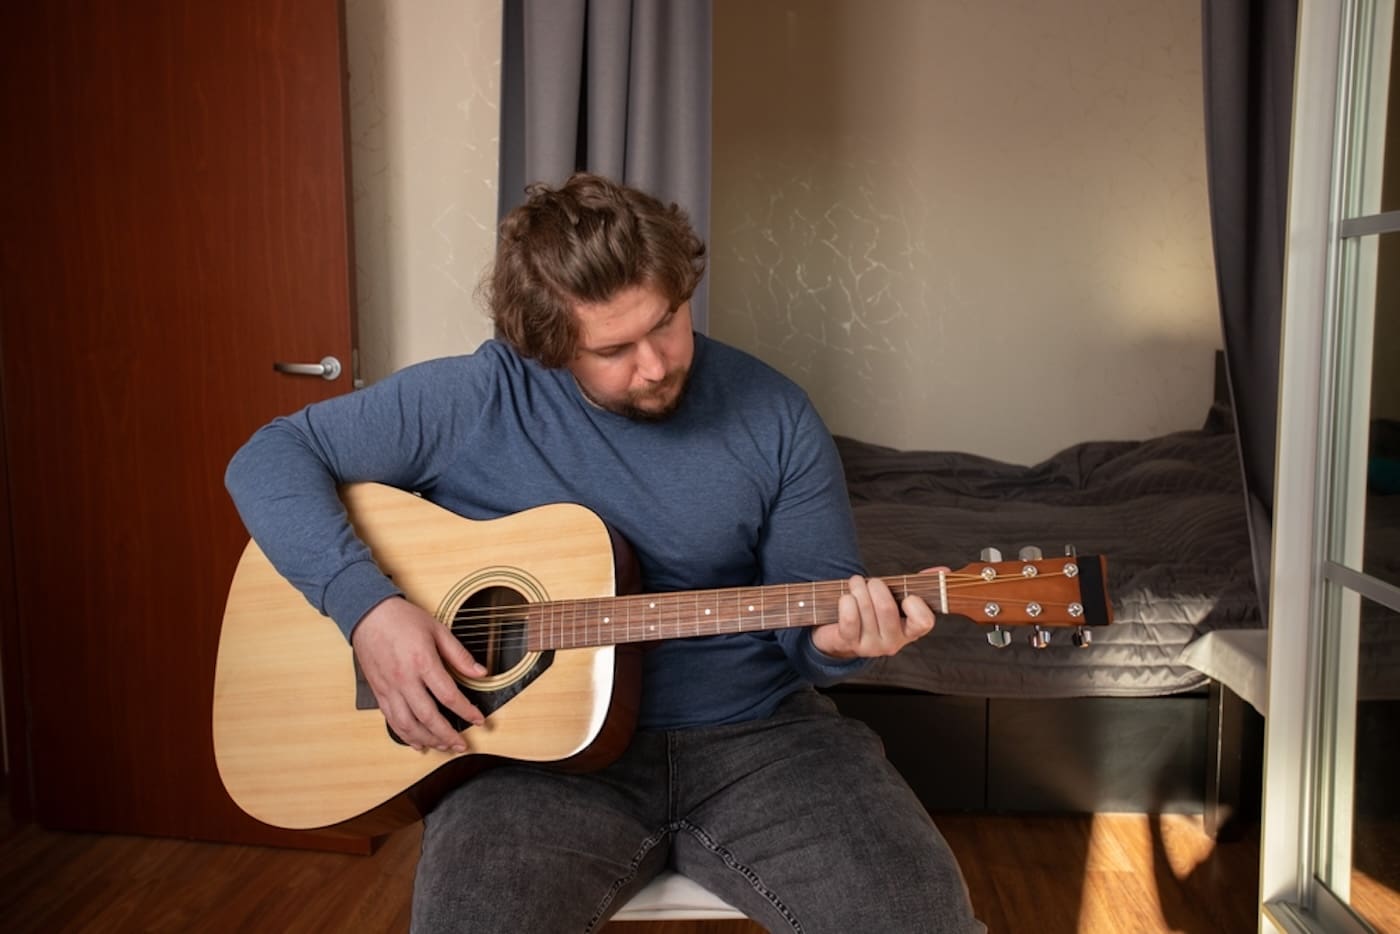
If you’re recording bands and singers with live instruments, your DAW requirements will differ, emphasizing multi-track recordings.
Software like Pro Tools and PreSonus Studio One blends traditional recording-studio features with advanced mixing capabilities.
You’ll also need an interface with high-quality preamps and enough inputs to cover the vocalists and instruments used on a song.
Learn more: The best music production equipment for beginners.
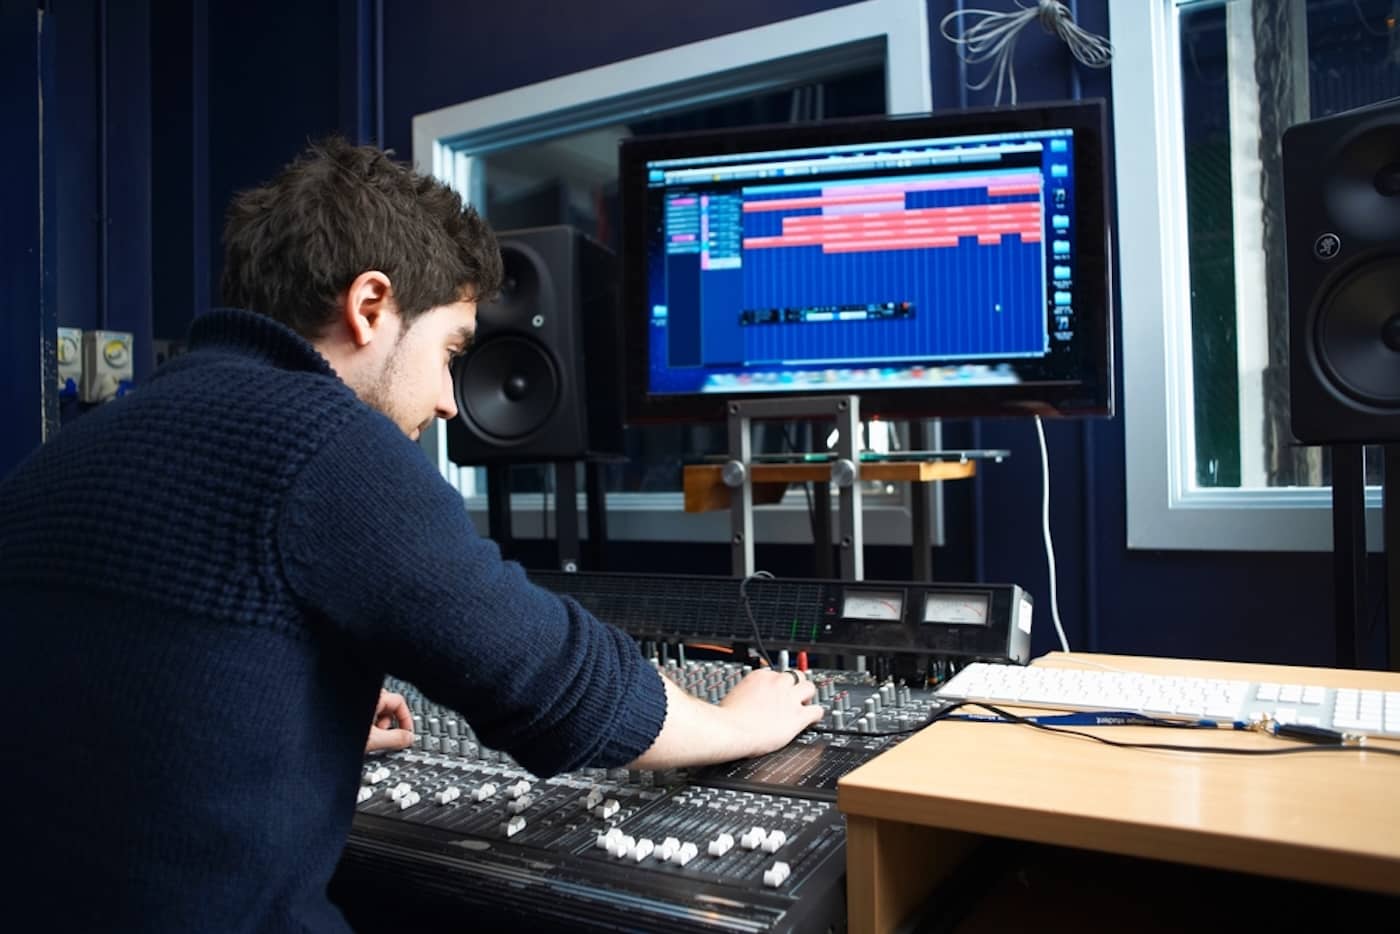
Step 3: Create Your Project & Tracks
With your DAW installed and ready to use, you can now create your music project in the software and prepare the tracks.
A track is represented in the horizontal lanes presented in the DAW’s interface, where various sources can be added to the project.
It’s worthwhile spending some time establishing a naming convention for your various tracks, since they can quickly accumulate on projects.
This naming convention will make it much easier to organize your tracks into subcategories, such as grouping drum hit samples and synths.
Here’s a breakdown of the two main types of tracks commonly used in music production software:
Audio Tracks
Audio tracks are designated for any live instruments you’ve recorded, along with lead and backing vocals from singers.
Once they’ve been imported onto a track, these audio files will be represented as audio sound waves, which can be edited and manipulated.
Editing options for audio tracks are limited compared to MIDI tracks, though functions such as pitch and time warping are available to producers.
MIDI/Virtual Instruments
The second track type used in DAWs is MIDI tracks, which use MIDI data for virtual instruments and can be edited in the piano roll.
Notes and instrument timing can be extended, moved to a different key, and adjusted for factors such as velocity and attack.
You can also use quantization tools to snap notes to a grid, which is particularly useful when editing recordings of virtual instruments.
Step 4: Record Audio & MIDI
Having set up your audio tracks and MIDI instruments, you’re ready to record the music directly into the DAW.
If you’ve built a home recording studio, take the time to plan sessions with musicians and singers in advance.
Providing them with the material beforehand, such as sheet music for musicians, will also save time by allowing them to rehearse in advance.
Recording multiple takes is also essential, as it allows you to choose the best takes when editing or splicing elements of takes together.
When recording MIDI, if possible, you should invest in a MIDI controller, especially if you can play piano.
Alternatively, you can manually draw in the notes for melodies and chords into the DAW’s piano roll to trigger your chosen virtual instruments.
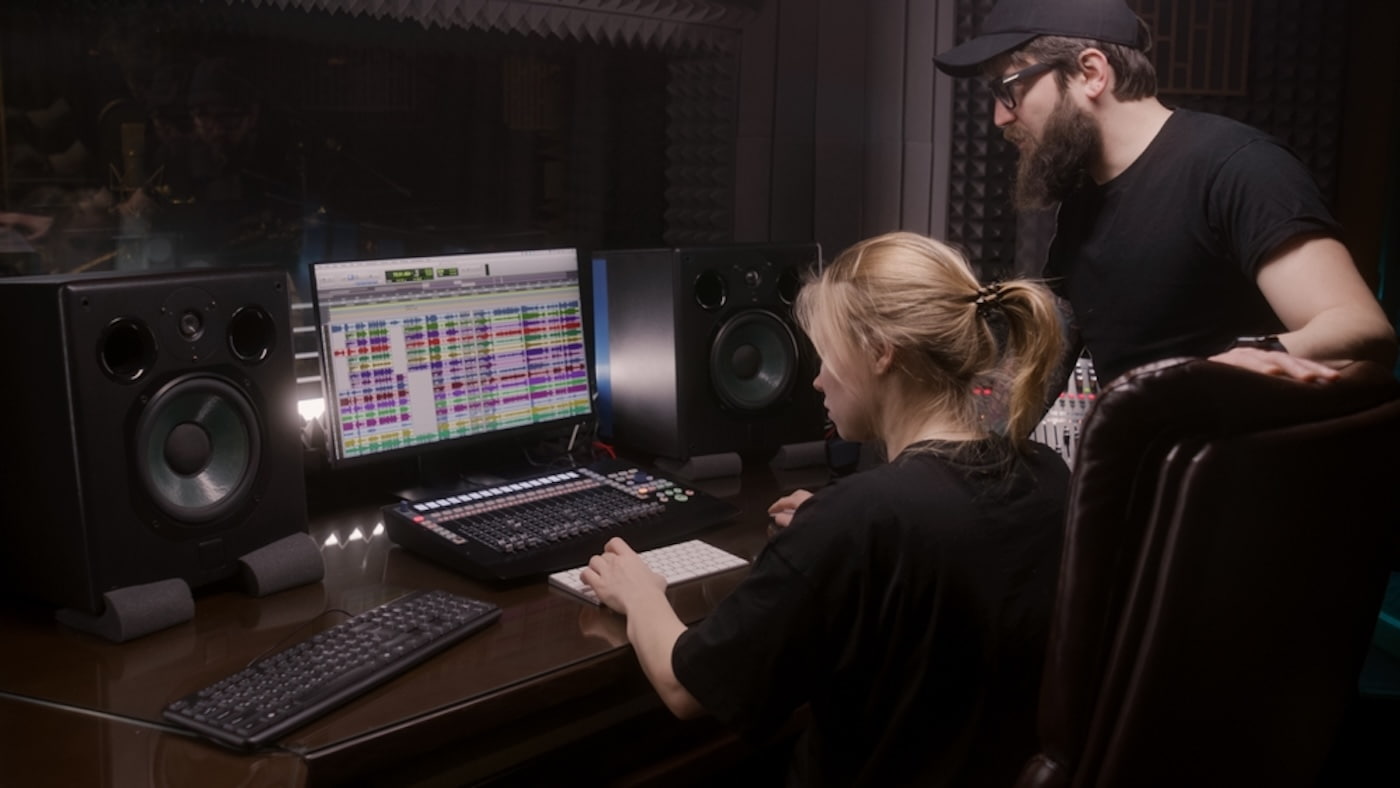
Step 5: Edit & Arrange Your Song
Having finalized your recordings and MIDI data, you’re now ready to begin the editing and arranging phase of music production.
In this stage, you can redefine the song structure by intro, verses, choruses, and any other structural elements, such as bridges.
Virtual instruments can be edited to alter the types of chords and MIDI-based drum patterns until they sound perfect.
Likewise, audio clips can be trimmed to remove unwanted noise or silences from the recording session, so they sit accurately in the mix.
Get Early Access
To Promo Hype
Step 6: Mix Your Tracks
The next stage in using a DAW involves mixing the music to balance out volume levels and frequencies between the various elements.
Begin with basic mixing techniques to ensure audio and MIDI tracks are balanced, adding pans to widen the stereo field.
You can also apply different types of EQ to specific instruments or groups of sounds, carving out frequencies to enhance separation.
If you’re unsure how to shape sounds and achieve balance, consider using a parametric equalizer as a visual guide.
Step 7: Use Effects For Tone & Dynamics
While EQing is necessary for giving your song’s elements room to breathe in the mix, effects are vital for adding character and atmosphere.
Effects can be applied to all aspects of the music’s arrangement, adding warmth to vocals and expanding the presence of instruments.
Common effects used in production include choruses, reverb, and delays, each of which can be refined through the plugin’s features.
You can use effects for distinctive, stylistic productions, such as applying autotune to vocals or modulation to synths.
It’s one of the most fun and engaging aspects of producing music, with a vast selection of plugins to experiment with.
Step 8: Master Your Final Track
Before your track is ready for distribution, you’ll need to finalize it by mastering it to optimize volume levels and prevent clipping.
While mixing and mastering techniques overlap, mastering primarily concerns the overall track, while mixing focuses on specific elements.
One of the main tools used for mastering is audio compression, which delivers a consistent sound by smoothing out volume peaks.
This is often combined with limiters, while metering and analysis plugins can further assist with the overall mastering process.
You can perform this process using a DAW, but established artists typically work with professional mastering services on projects.
Throughout the mixing and mastering stages, utilize your headphones and monitors to assess your changes with nuance and precision.
Step 9: Export Audio Files
Having mastered your project and balanced out the final track, it’s time to export the song in the relevant audio file formats for distribution.
To do this, select the Export option (sometimes called Bounce) and save the file to a destination folder.
Popular audio file formats you can use include MP3, WAV, and FLAC, which are widely used on streaming services and download platforms.
While WAV is the go-to for high-quality uncompressed audio, formats like FLAC and, to a lesser extent, MP3 offer significantly smaller file sizes.
If in doubt, export your finished music in multiple formats so it’s ready to be distributed instantly to meet a given platform’s requirements.
Step 10: Release & Distribute Your Music
Dedicating the time and effort required to produce music means little if your finished tracks don’t reach your audience.
If you want to make money as a music producer, you can generate revenue from your tracks through various avenues.
Selling digital downloads, releasing vinyl records and CDs, and distributing on streaming services all generate revenue through music royalties.
Streaming service distribution is also easier than ever, with powerful music distribution services that streamline the entire process.
They offer a range of comprehensive tools for monitoring streaming performance, tracking plays, new followers, and other data points.
Music distribution services are also set up for cross-platform distribution across major platforms, including Spotify, TIDAL, Amazon Music, and more.
By diversifying your distribution methods and promoting on social media channels, you can generate a consistent stream of income.
Once your music gains traction, you can use this growth to get signed to a record label and pick up gigs in established venues.
Discover more: Mechanical royalties vs. performance royalties.
Best DAWs For Music Production
If you’re learning to become a music producer, choosing an appropriate DAW for your skill level and musical style is a must.
Let’s break down the best DAWs for music production, from software suitable for beginners to in-depth DAWs used by professional studios:
GarageBand
If you’re producing music on a macOS device, GarageBand comes pre-installed on Apple computers and other hardware.
It’s accessible for beginners but robust enough to produce modern music, with many hit songs recorded in GarageBand.
You can also export your music projects to Logic Pro if you decide to upgrade your DAW in the future.
FL Studio
Originally released as Fruity Loops, FL Studio is an excellent option for making beats in electronic music production.
It uses a pattern-based workflow with a Channel Rack system and extensive tools, including a piano roll and a fully-fledged mixer.
Upgrade to the Producer Edition of FL Studio, and you can unlock advanced features like stem separation, along with full audio recording.
Ableton Live
Like FL Studio, Ableton Live is commonly used for electronic music production and includes live performance features.
Widely adopted by some of the biggest independent artists, Ableton Live’s workflow covers Arrangement and Session for versatile applications.
It’s user-friendly and efficient, with professional-grade virtual instruments, editing tools, and MIDI data handling for home recording.
Logic Pro
Mac users seeking a more advanced approach to music production typically turn to Logic Pro, which is often used in professional studios.
With advanced MIDI features and a comprehensive sound library out of the box, it comes with high-end plugins for in-depth manipulation.
Apple has bundled Logic Pro and Final Cut Pro into a single package, ideal for producers creating music videos and other visual media.
Pro Tools
If you’re looking for an industry-standard DAW for music production, Pro Tools is the go-to for bands and the best music producers.
While it’s challenging to master, Pro Tools offers extensive features, including stem separation, an array of virtual instruments, and more.
There are also post-production video editing tools that are essential for mixing music for Dolby Atmos surround sound.
Cubase
Another powerful DAW used by professional composers and musicians is Cubase, which delivers a complete workflow and advanced editing tools.
Cubase pioneered VST integration, expanding the software to incorporate a professional mixing console and Score Editor feature.
It’s one of the most versatile DAWs on the market, particularly for musicians and composers working on games, movies, and TV shows.
Tips For Choosing The Right DAW
With a wide range of DAWs to choose from, selecting the right one for your production style and level of experience can be challenging.
Follow these tips to help select the best DAW for your requirements and long-term goals:
- Genre and style compatibility: Different DAWs have specific features suited to popular music genres, so begin by deciding on your music style. For bands and singer-songwriters, Pro Tools and GarageBand offer impressive audio capabilities, while FL Studio and Ableton Live are often used for electronic music.
- Learning curve and level of experience: Your background in music will also impact your decisions when choosing DAWs for your projects. Also, consider whether you want a DAW that can be easily scaled over time, installing new instruments and plugins.
- Available budget: If your budget is limited, start with free DAWs like GarageBand on Mac or Audacity on Windows.
If possible, start exploring DAWs through free trials to test features and workflows before investing in the full version.
Recommended reading: The 10 best AI music production tools.
FAQs About DAWs
With many DAWs on the market and seemingly endless applications, venturing into music production can sometimes feel overwhelming.
Here are some answers to FAQs surrounding DAWs to help clarify any additional queries you may have:
What is the best DAW for beginners?
Mac users typically start with GarageBand, which offers a balance of simplicity and room to grow as you learn new features.
Other DAWs suitable for beginners include FL Studio for beat-making, while Ableton Live Lite provides an excellent entry point to the software.
You can also streamline your learning experience by checking out music production tips for your chosen DAW.
Which is the best free DAW?
In addition to GarageBand, other DAWs you can use for free include Cakewalk by BandLab and Tracktion Waveform Free.
If you prefer an MPC-style workflow, consider experimenting with LMMS, which is oriented toward dance music production.
What’s the hardest DAW to learn?
While some DAWs are easy to pick up, software like Reaper and Pro Tools can take months or even years to master fully.
This means considering the trade-off between simplicity and overall features, with a steeper learning curve for high-end DAWs.
Summary
Learning what a DAW is and how it works is the foundation of modern music production.
In this guide, you explored how digital audio workstations handle recording, editing, arranging, mixing, and mastering, along with the tools and setup needed to get started.
By choosing the right DAW and understanding its core workflow, you can confidently turn musical ideas into finished tracks and continue developing your skills over time.
Get Early Access
To Promo Hype
Join Promo Hype
Want the latest Unsigned Advice?
Subscribe to our mailing list to get tips, tricks and hacks straight to your inbox!